If you need to dynamically transform images, save yourself some time and use Image Resizer.
Image Resizer is an open source ASP.NET library and image server that performs high performance image processing. With its query string API, transforming images is as simple as changing the URL; from resizing to sophisticated image adjustment.
In this post I cover how to set up a high performance image processing service using Image Resizer and Microsoft Azure.
Getting started
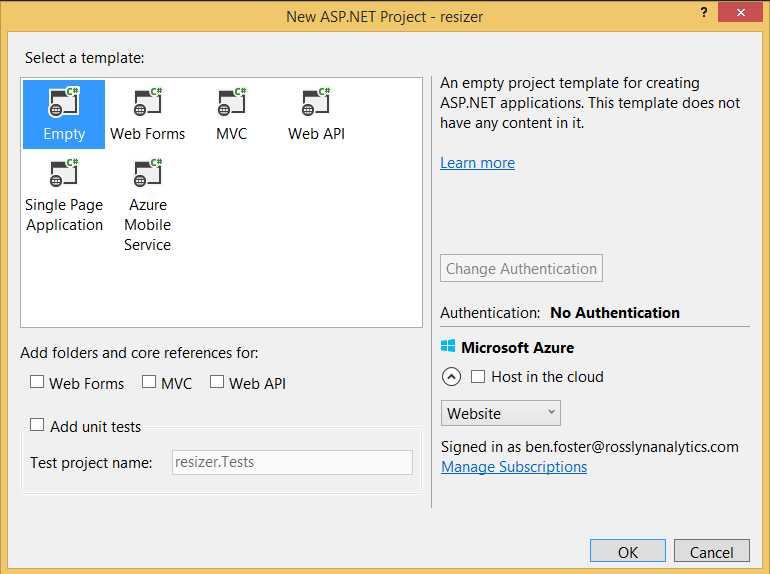
In Visual Studio, create a new empty ASP.NET Project.
Install Image Resizer through NuGet
PM> Install-Package ImageResizer.WebConfig
You can serve your images from anywhere in your site. I’ve created an /images directory and copied in a test image.
Launch the application and browse to /images/test.jpg?width=100.

If you get a resized version of your source image then Image Resizer is working its magic.
Let’s get a bit more adventurous. Browse to:
/images/test.jpg?width=150&height=150&mode=crop&rotate=90&borderWidth=5&borderColor=black.

We now have an image processing server ready to go.
Deploy to Azure
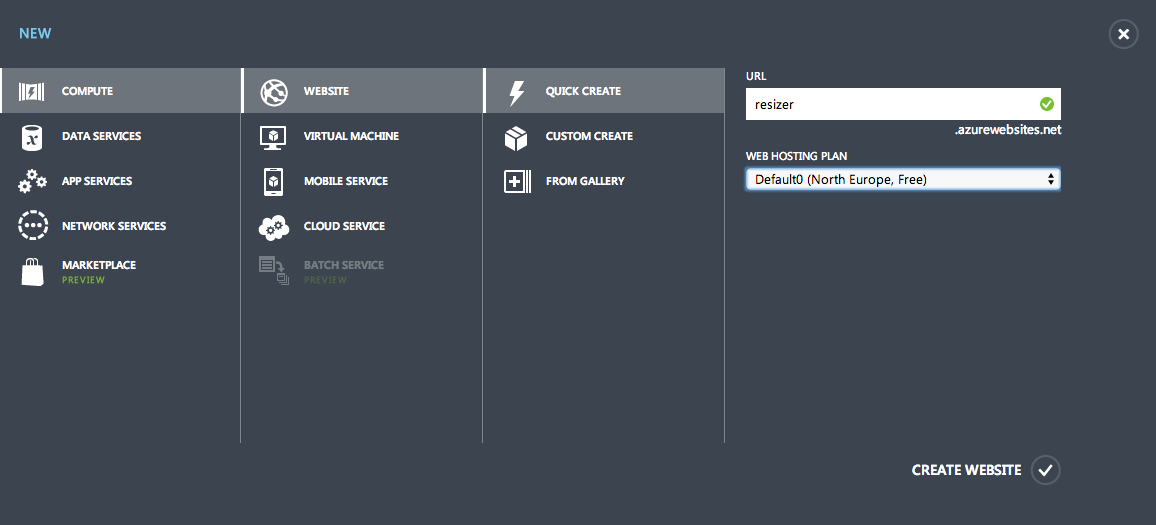
Go to the Azure Portal and create a new website. I’ve given mine the URL resizer.azurewebsites.net.
You can deploy the web application by downloading a publish profile from the portal or connecting directly to Azure from within Visual Studio:
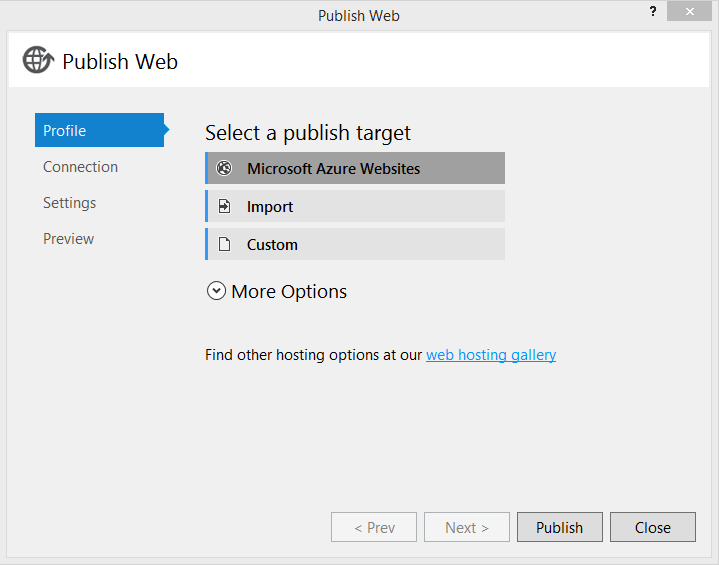

With the site published, browse to your azure URL and perform the same tests you did locally:

Storing images in Azure Blob Storage
To make the media server truly scalable I want to store my images within Azure Blob Storage. I have a different web application that manages the uploading of images so the distributed nature of Azure Blob Storage makes it perfect for this scenario.
So far I’ve only scratched the surface of Image Resizer’s functionality. It has a rich plugin ecosystem for doing all kinds of stuff - including a plugin for reading source images from Azure Blob Storage.
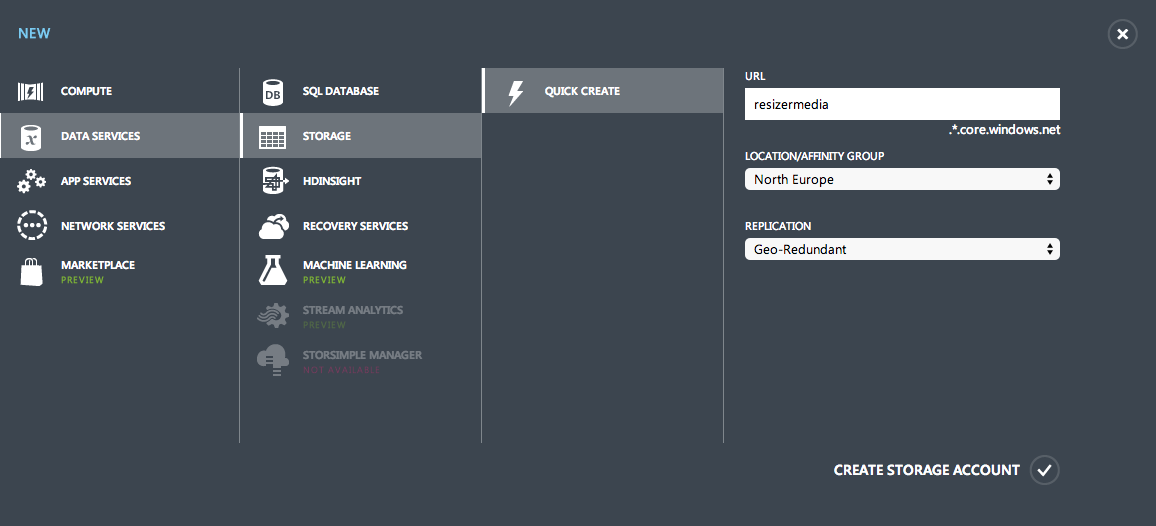
In the Azure Portal create a storage account to store your media:
Now install the Azure Reader plugin for Image Resizer:
PM> Install-Package ImageResizer.Plugins.AzureReader2
Note: There is an issue with the current nuget package as it references a newer version of the Azure libraries than those installed by the package. To fix this, just update the Azure packages from NuGet.
Open up web.config and configure the plugin with your storage account connection string:
<resizer>
  <plugins>
    <add name="AzureReader2"
         connectionString="DefaultEndpointsProtocol=https;AccountName={accountName};AccountKey={accountKey}]"
         endpoint="http://{{accountName}}.blob.core.windows.net/"
         prefix="~/" />
  </plugins>
</resizer>
In this example I’ve set the prefix setting so that all requests from the root of the site will be routed to my Azure storage account; For example, a request to http://resizer.azurewebsites.net/images/test.jpg will look for test.jpg from the images container. If you’re installing Image Resizer in an existing site you may want to specify a sub directory (the default is ~/azure).
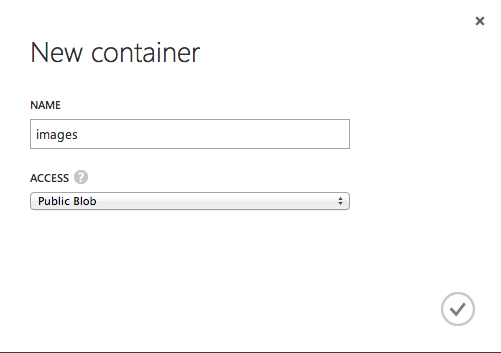
From the portal create a container to store your images. Note that the access is set to Public Blob. If no querystring modifiers are provided the Azure Reader plugin will automatically redirect to the Azure blob URL.
Next upload some images from Visual Studio’s server explorer. Alternatively, check out Azure Storage Explorer.
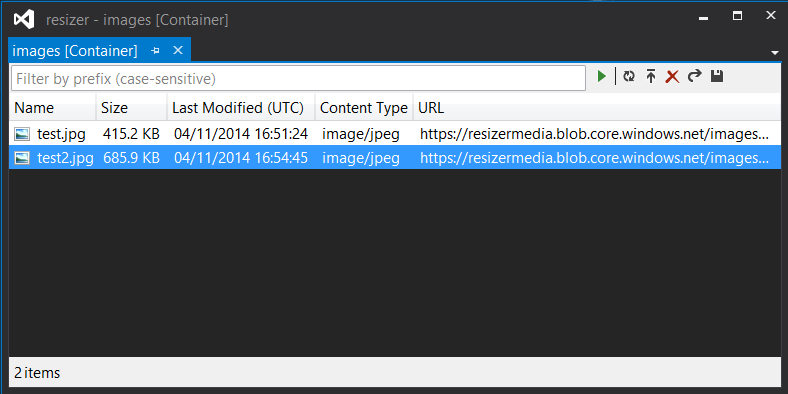
Re-deploy the updated site and browse to your image once more. This time it will be loaded from blob storage and then transformed by Image Resizer.

Caching
Image processing can be very resource intensive, especially when dealing with large images. Add to that the fact that we are loading the source images from Azure storage and you’ll understand why we don’t want to perform this processing on every request.
Image Resizer has us covered again with the Disk Cache plugin. This caches the transformed images to the local file system.
This works well in many scenarios, but if you’re handling large volumes of media or running multiple instances of your application there is a better option.
Azure CDN
Rather than caching the transformed images where Image Resizer is hosted, what if you could cache them at the location closest to the client (your web site visitors)?
This is precisely what the Azure CDN enables. When a resource is requested for the first time it is loaded from the origin server (the media server in our case) and then cached in the CDN. Subsequent requests will be served directly from the CDN (built on top of blob storage).
Within the portal add a new CDN and point it to the address of your Azure Website.
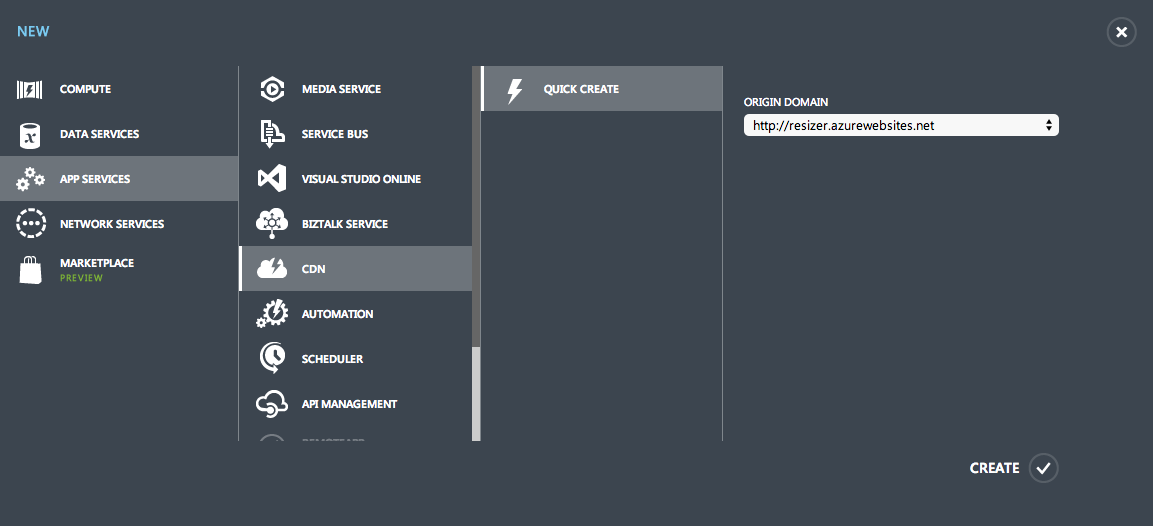
You need to make sure you enable Query Strings otherwise all resources with the same filename will be considered the same file, even if the querystrings differ.

Once created you can use the CDN URL to access your images. So instead of requesting http://resizer.azurewebsites.net/images/test.jpg, to serve the images through the CDN change the URL to http://az684817.vo.msecnd.net/images/test.jpg.
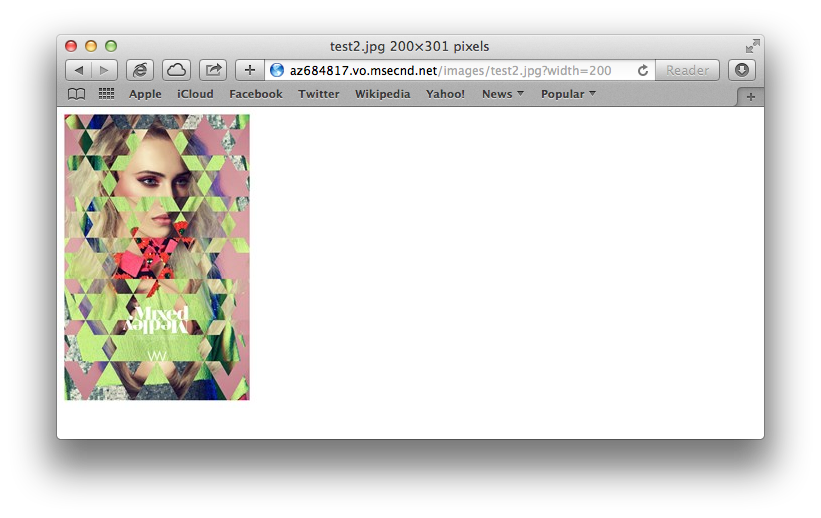
Note that it can take some time before the CDN becomes available (1 hour in my case) so be patient
The final thing to do is to set the HTTP Expires header so that the CDN knows not to keep requesting the images from the origin server. This is done by setting the clientcache settings of Image Resizer:
<resizer>
  <clientcache minutes="1440" />
  <plugins>
...
  </plugins>
</resizer>
Without writing a line of code we have a scalable, high performance image processing server hosted in Azure.
For further details on hosting Image Resizer in the cloud, please see the official Image Resizer Cloud Architecture Guide.
Demo images courtesy of the talented Tim Jarvis.