Black bars are added to videos when there is a difference between the aspect ratio of the videos and the playback device, for example, watching a film shot in 16:9 on a 4:3 television.
The same is true on the web. Some services like Vimeo do a pretty good job of supporting non-standard resolutions. YouTube on the other hand is limited to 16:9 so you’ll get pillar-boxing or letter-boxing if you upload a different aspect ratio.
Whilst black bars are often intentional, one thing they do not look good on is thumbnails or cover images. We see this frequently in Fabrik (the online portfolio for filmmakers and photographers). Customers can easily import their video content from Vimeo or YouTube which also brings in a thumbnail; usually a still from the video itself.
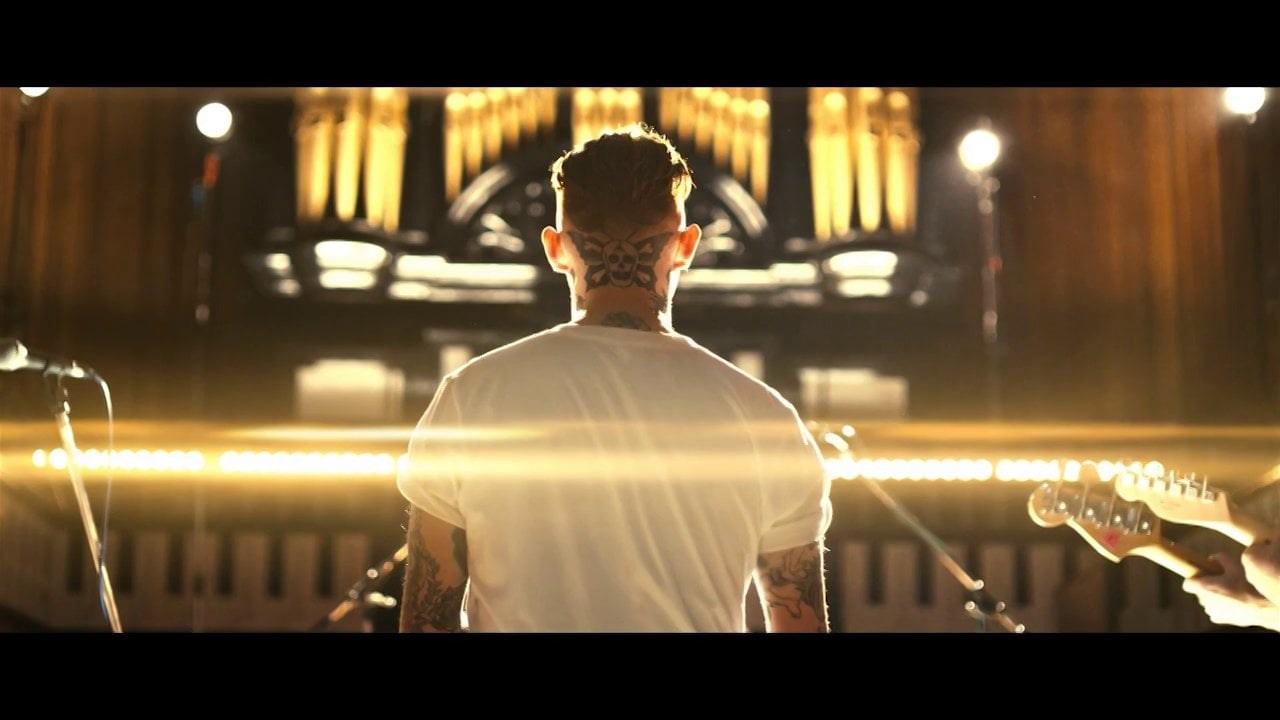
So we started thinking - how could we remove black bars from videos automatically? Using magic of course, or rather, ImageMagick.
ImageMagick is a powerful piece of software that can be used to process and transform images. It is typically used from the command line. You can find installation instructions here.
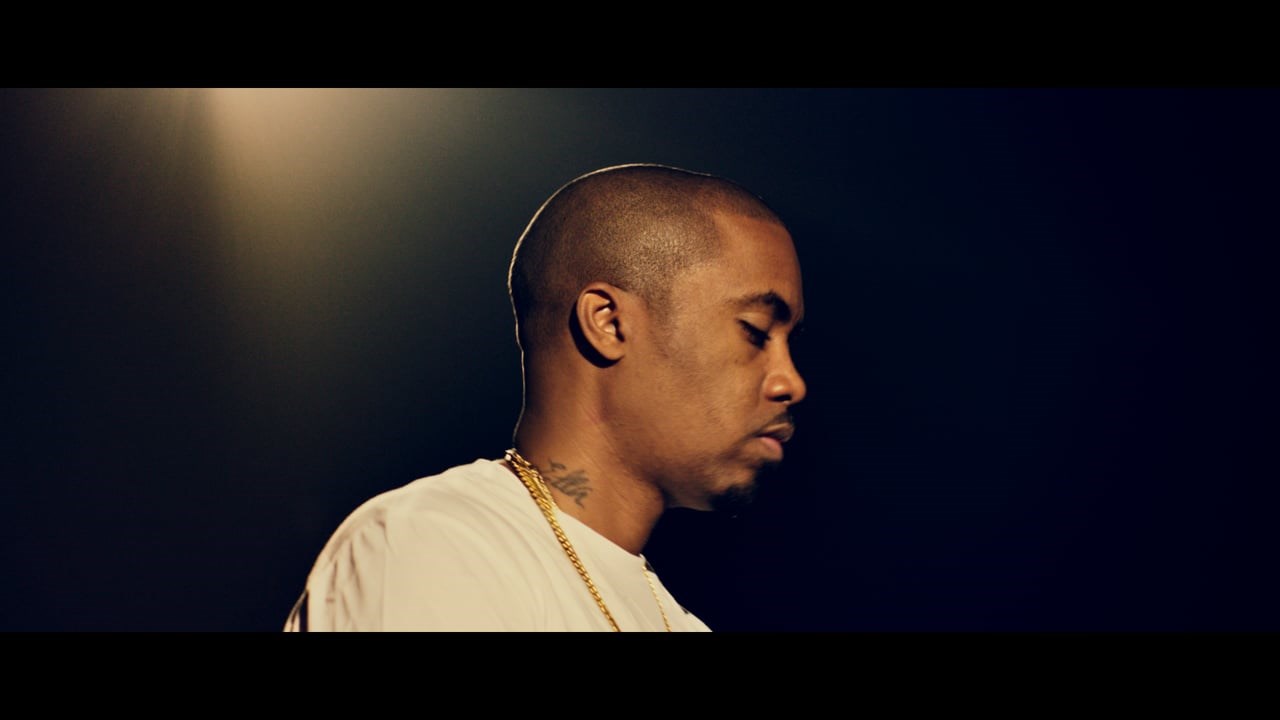
We’ll be working with the following image (yes that’s Nas) to demonstrate how to remove black bars from a 16:9 image (courtesy of director Ross Cairns):
Remove the top black bar
ImageMagick has a trim command that can be used to trim edges (e.g. black bars or extraneous whitespace) from an image. Whilst this proved successful on many video stills it doesn’t work so well on dark images, often eating into the sides of the image:

To get around this we need to protect the sides of the image (we’re assuming we have letter-boxing). To do this we’ll first add a white/black border to the bottom of the image:
convert image.jpg \ -gravity South \ -background white \ -splice 0x5 \ -background black \ -splice 0x5 \ step-1.jpg
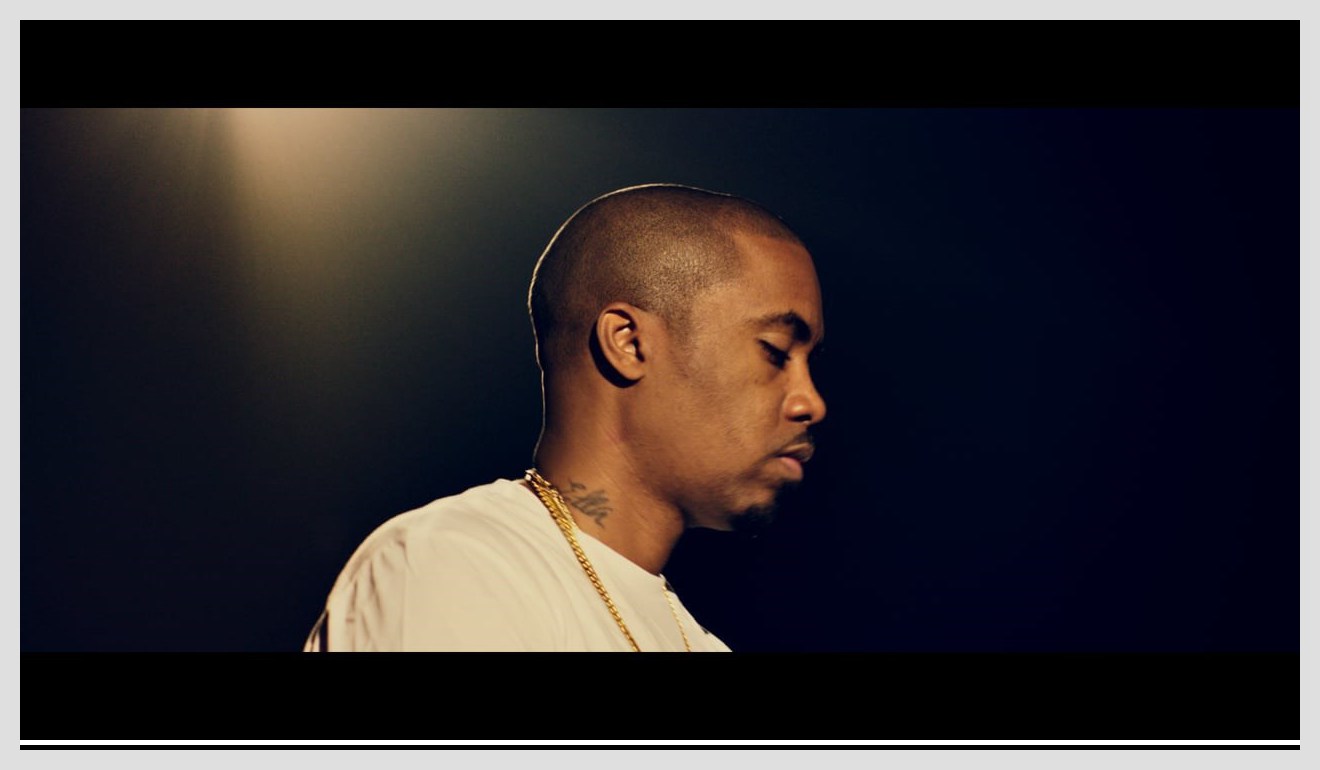
Next we’ll use the trim option to remove the black edges of the image. This will strip the black border from the top and bottom but the white border will protect the rest of the image (clever huh?):
convert step-1.jpg -fuzz 5% -trim +repage step-2.jpg
The fuzz option ensures we’ll match other colours that are close to black which helps with anti-aliasing or bleeding on the edge of the image:
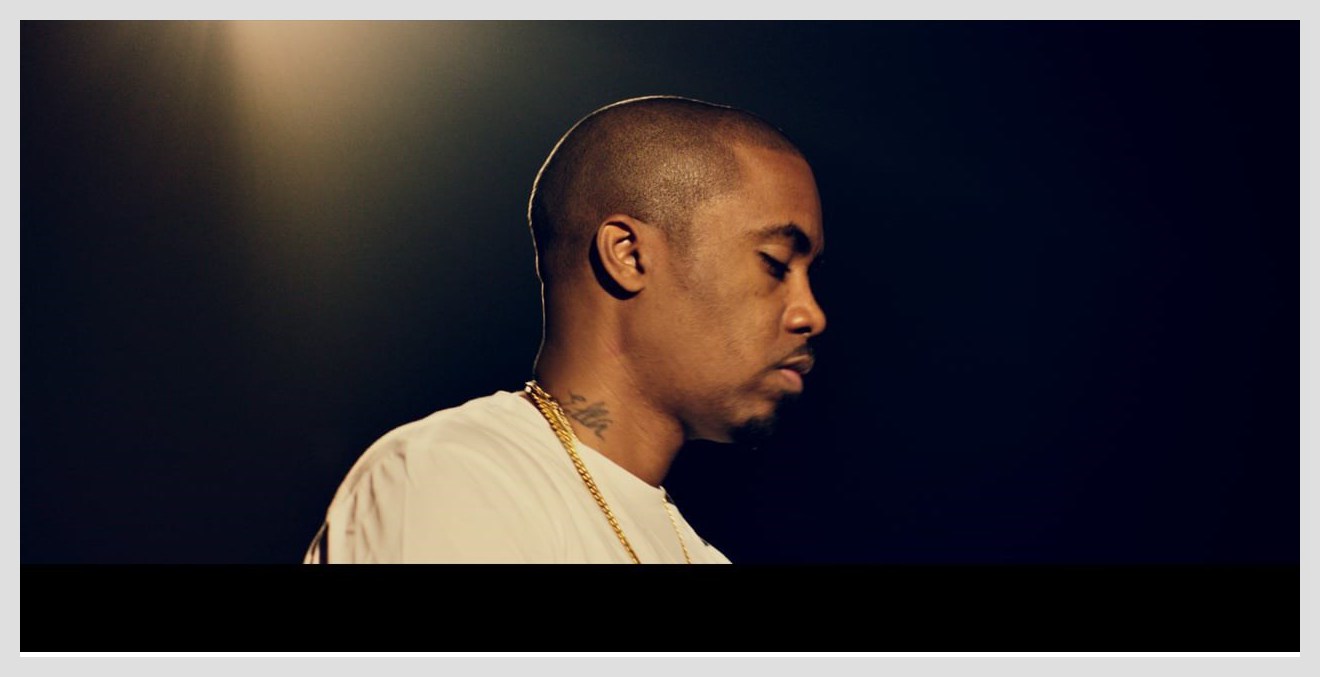
Then we just need to remove the white border we added to the bottom of the image using the chop option.
convert step-2.jpg -gravity South -chop 0x5 step-3.jpg
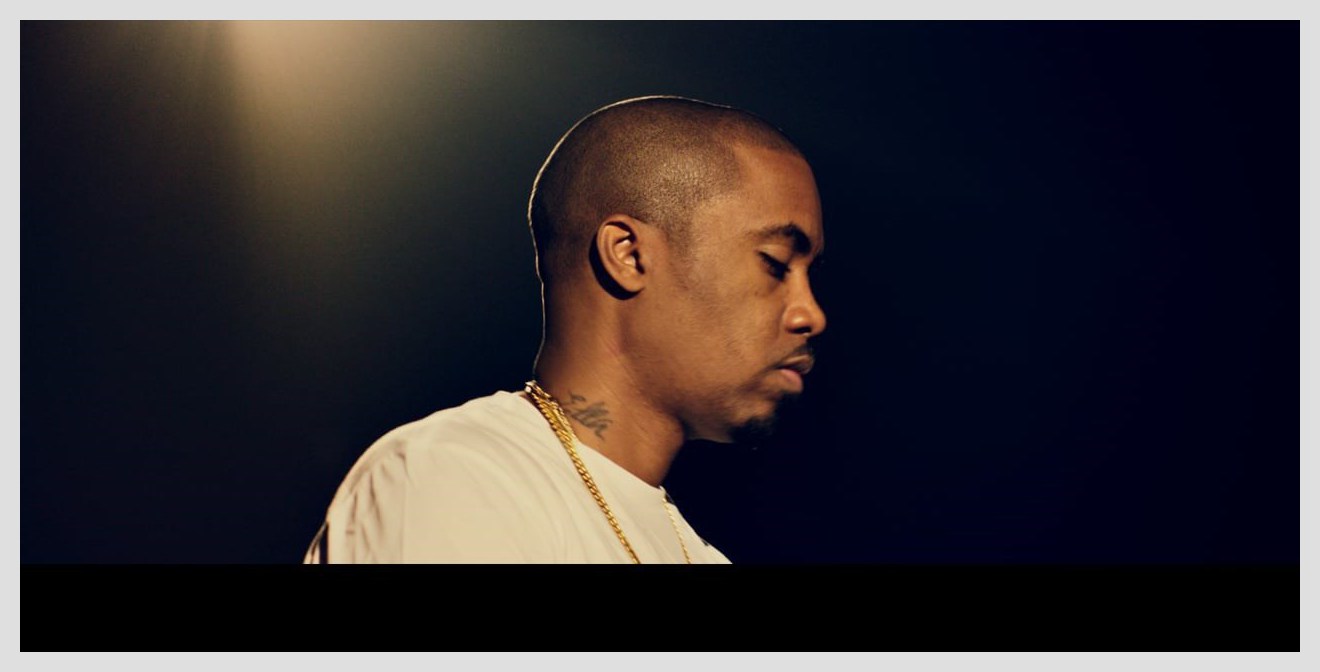
Remove the bottom black bar
To remove the bottom black bar we follow a similar process. First we add a black/white border to protected the sides of the images from being trimmed:
convert step-3.jpg \ -gravity North \ -background white \ -splice 0x5 \ -background black \ -splice 0x5 \ step-4.jpg
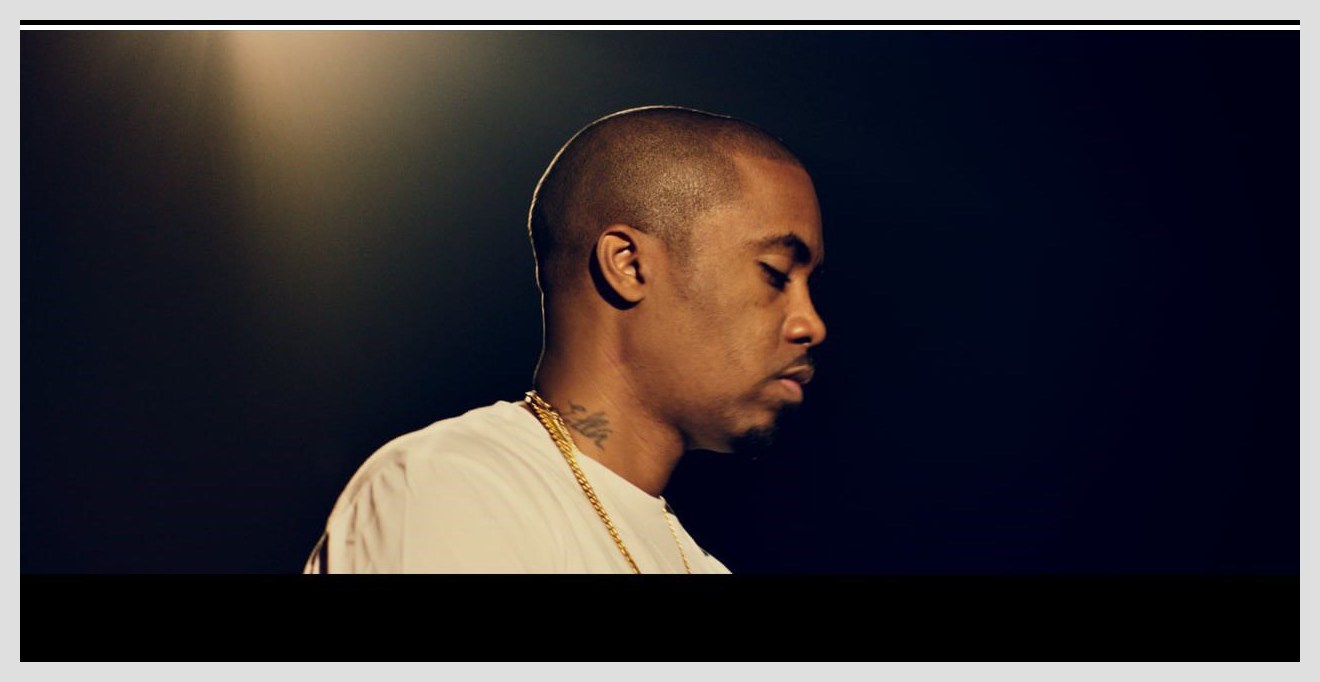
Then we’ll trim the remaining black edges:
convert step-4.jpg -fuzz 5% -trim +repage step-5.jpg

Finally we’ll remove the remaining white border:
convert step-5.jpg -gravity North -chop 0x5 step-6.jpg

Clean shaven
There’s so silver bullet when it comes to trimming the images. We found that -fuzz 5% worked pretty well for most images but can still leave a black bleed line around the image. To get rid of this we used shave to remove 1px from each side of the image:
convert step-6.jpg -shave 1x1 step-7.jpg
The final result:

The great thing about ImageMagick is that all of these steps can be combined into just one command:
convert image.jpg -gravity South -background white -splice 0x5 -background black -splice 0x5 -fuzz 5% -trim +repage -chop 0x5 -gravity North -background white -splice 0x5 -background black -splice 0x5 -fuzz 5% -trim +repage -chop 0x5 -shave 1x1 output.jpg
Just replace image.jpg with the name of your image and output.jpg with what you want the final image to be called.
You can also run the above command against an entire directory of images meaning that although the command-line may be new to you (and perhaps a little scary), it’s considerably quicker than using a photo editing app like PhotoShop.
The great news for Fabrik customers is that we’ll be making this part of our YouTube and Vimeo integration. That’s right a “Remove black bars” button! You’re very welcome.